More Kitchen Fun!

If you weren’t aware I love my new kitchen! Here are two more projects that we did in our kitchen that I am just in love with!

  • Spice Rack

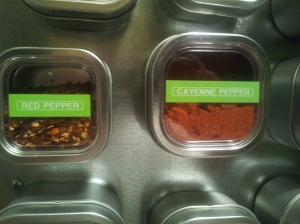
I have quite a spice collection and wanted to do something cool with all of my spices, but still have them be easily accessible. So as my birthday gift this past year Adam did some research and came up with a plan to execute a magnetic spice rack on the inside of the pantry door. He bought sheet metal from home depot and cut it to fit the inside of the pantry door. Then he ordered different sized square tins from www.custommagneticspicerack.com that came with magnetic strips that could be cut to fit on the back of the cans. Then we used a label maker to create labels for each spice. Look how cool this is!


  •  Chalkboard door

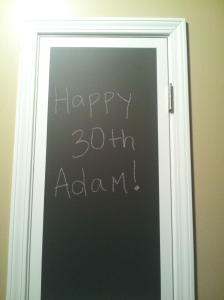
On the front of the pantry door we taped off a big rectangle and then painted the door with chalkboard paint from www.hudsonpaint.com. Now I can write down the menu for the week, make a grocery list, or just fill it with messages like “Happy 30th Adam!” I was really happy with the chalkboard paint that we purchased, not to mention that Hudson Paint has so many different colors to choose from…take a look!

DIY in the New Kitchen!

Well its official, I am now a homeowner and resident of South Carolina! As you may already know (from my blog on big kitchens) the spacious kitchen in our new house is the room I was most excited about. We decided that we wanted to do a little DIY to make our kitchen unique and “ours.” Take a look below at the two projects we completed for our kitchen!

1. Pendant Lights

  • We went to Home Depot and bought two plain white metal pendant lights.
  •  First we sanded it down a little so that it wasn’t so smooth.


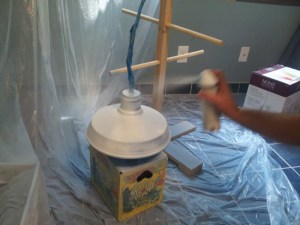
  • Next we spray painted the entire pendant our first color, or the color you want your stripes or design to be (we used violet blue).

  •  Then, (after it was dry of course!) we took wide painters tape and skinny painters tape and wrapped it around the pendant lights where we wanted our stripes to be….this was way more difficult than it looks, at least the first time! It probably took us close to an hour just to put the tape on the light, get it straight, etc. The second pendant was much easier and we flew through this step!

  •  Now cover it using some spray paint primer.

  •  Then spray paint the pendant light your second color (we used yellow/orange). We ended up doing about three coats of this color. Once it is completely dry carefully remove the tape! 

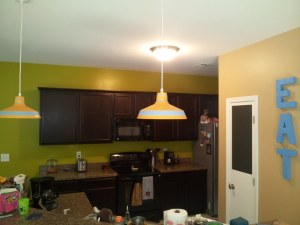
finished product!

 2. EAT Letters

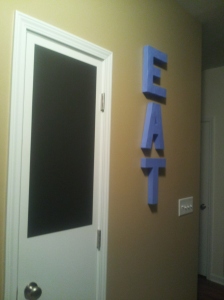
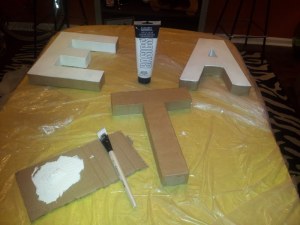
One afternoon when we were cruising Michael’s I came across these cardboard like letters and decided to get an “E,” and “A,” and a “T” to use in the new house! I had seen letters like this before on Pinterest and even on kitchens in TV shows and just loved the idea.

  • We decided to use a brush and white Liquitex Basic Acrylic Paint to begin. 

  • Once these dried we used the same brand of Acrylic paint, but the Professional level instead of Basic to paint the letters our main color (violet blue to match the stripes of the light!)
  • I bought some saw tooth hardware from Michael’s, nailed them to the back of each letter and hung then on a nail just like you would a picture!

CHECK THEM OUT!